How To Install Porcelain Pavers
– A Complete How-to Guide –
Welcome to the ultimate guide on how to install porcelain pavers, brought to you by SHS Distributors, the leading hardscape distributor in Connecticut!
This comprehensive guide will walk you through the step-by-step process of installing porcelain pavers, offering insights and insider tips to ensure a successful and long-lasting project.
Whether you’re a DIY enthusiast looking to enhance your outdoor living space or a seasoned professional seeking expert advice, this guide is for you! Get ready to transform your patio, walkway, or poolside with the beauty and durability of porcelain pavers!
Let’s Dive Into The First Steps!
Step 1: Plan And Mark Area
Start by planning where to lay your pavers and mark the area with spray paint or wooden stakes with string.
You want to avoid hitting any utilities while digging!
Call your utility companies first to ensure there are no wires or pipes below the area.


Step 2: Gather Necessary Tools
You will need multiple tools to excavate your porcelain paver base. You will need the following tools. A rented mini excavator or skid loader will speed up the process.
- Shovel – A flat-blade shovel will be great for edging
- Digging Iron – Helpful for edging and removing rocks
- Wheelbarrow
- Tape Measure
- Level
- Compacting tool – You can rent a plate compactor or use a hand tamper
If you don’t have any rental companies close to you, check with Home Depot, Lowes, or another big home improvement store that will have something available.
Great Work! You Are Ready To Begin The Installation Process!
Step 3: Install Fabric
Before installing edging or the gravel substrate, we recommend installing landscaping fabric.
Cut the fabric with a utility knife or scissors, but leave a few extra inches at the edges to overlap with the edging.
Roll out the landscape fabric across the entire area.


Step 4: Install Your Stone Base
Once the fabric is installed, it is time to install the gravel substrate.
Once the stone base is installed, use a tamper to pack the gravel; otherwise, it will shift over time and damage the porcelain paver joints.
If you are worried about erosion, install a geogrid to prevent the base from shifting.
You Did It! You Are Ready To Install Your Bedding System!
Once your substrate is installed, it is time to add your bedding compound!
A bedding system, like GFTK Xtreme Bedding Compound, removes the need for a concrete sub-slab on top of the gravel. This means that your pavers won’t rock and will be permanent yet permeable for many years to come.
It is best to install the mortar bedding system for your porcelain pavers when the temperatures are 41-77 degrees and in dry weather.
Tools Needed To Get The Job Done!
For small to medium jobs, we use the Eterra Mix-N-Go 450.
Which is attachable to your skid loader. With discharge on the side and the bottom.
Your bags are also easily breakable on its top grate.
Next, you’ll want to have:
- GFTK VDW 480 Bedding Mortar
- 1/4->3/8in. Chip Stone. Washed and clean.
- Water Hose

Efficiency Tip For Contractors:
Products like the VDW 480 is a sticky product. So it’s important to keep your equipment clean.
If you are in between batches, just spray off your paddles to keep the build-up down and save yourself time at the end of the day.
But once you’re done for the day. Let the mixer run while spraying it clean.
Check Out This Trass Bedding Installation Video Guide!

Step 5: Prepare the Bedding System
We recommend using a compulsory or auger mixer to mix the bedding compound.
Check the manufacturer’s mixing ratios before mixing.
The recommended for GFTK’s Trass mortar bedding system for pedestrian traffic is as follows.
One 55-pound VDW 480
6 Parts washed and cleaned stone. 1/4 ->3/8in.
One 5-gallon Bucket is equal to one 55-pound bag.
2 -> 2 & 1/2 gallons of clean water per 55 lb of bedding compound. Take note of wet/damp aggregate and adjust the water ratio accordingly.
Step 6: Porcelain Paver Mortar Bed Application
Now that your bedding compound is mixed, it is time to apply it to the gravel base. Apply the bedding mortar in layers of 1.5″ to 4″. Since porcelain pavers are uniform in thickness, it is essential to level the mortar bed before installing porcelain pavers.
A screed bar is the best way to make the mortar bed level.
After installing the mortar bed, it must be protected from drying out too quickly.

Pro Tip:
As trends change over time. Make sure to plan ahead. Use PVC piping to instal any lighting or electrical components. Using this Trass bedding system is designed for permanence. So make sure there are easy ways to access any lighting features or speakers if things need to be replaced.
Congratulations! You Are Ready To Start Placing Your Porcelain Pavers!
In using the trass bedding system. Part two of that process is to use an Elutriant like the GTFK VDW 495 to butter the backs of your pavers. Using this Elutriant helps seal the pavers down to the Trass bedding. Thus creating a Monolithic bond, tying it all together.
There are two steps or two methods to applying the VDW495:
The first Is a dipping method. Great to use for small pavers!
The second is to use a notch trowel to butter the backs of your pavers.
This is generally used for larger formats pavers like 2 by 2’s. Which needs to have a consistent depth across the paver

Tools Needed To Get The Job Done!
- Bucket
- Water Hose
- Your GFTK VDW 495
- Auger or appropriate paddle mixer
- Power unit
- Long Level
- Dead blow mallet
- Piece of plywood for weight distribution on small tiles.
- And if using a dipping method. Build out or have a small tray next to you. That way you can easily and quickly apply your elutriant without dripping or having to get up off a smaller format tile.
Check Out This Elutriant Installation Video Guide!
Step 7: Mix Bonding Compound
- First put a little water in your bucket. Then add your 495.
Use your auger mixer or an appropriate paddle mixer. - Add water occasionally throughout the mixing process.
- Add extra water to make the elutriant softer if you are using a dipping method.


Step 8: Apply Bonding Compound
We recommend using a ¼” x ¼” trowel to apply the Adhesion Elutriant.
Use the trowel to apply the slurry to the back of the porcelain paver. Any spill on the side of the paver should be removed with a damp sponge or cloth to allow a clean joint for your jointing compound. Once the compound is applied, you can install the pavers.
Once that is done, it’s time to get to the nitty gritty.
DO NOT pour all of your mortar out at once!
You should ideally be spreading it over in little sections. (Enough to cover about 4 pavers at a time.) Just like other surfaces, you need to leave space between your pavers. In this case, about 2″ space is enough. If you can’t eye it, you can invest in a paver spacer tool to help you out.
Step 9: Installing Porcelain Pavers
How To Install Small Pavers:
*Pictured here are 4in by 8in pavers placed a haring bone pattern.*
- Its always good to dry lay a few pieces just top make sure your pattern is correct before you start buttering and setting your pavers for good.
Again the elutriant is runny so that the dipping method can be used. - For small pavers its good to use a piece of plywood out over your set tiles to spread out your weight load.
- Try to keep the top surface of your pavers clean. But you can lay multiple small pieces before checking to make sure they are level. Its also helpful to run strong lines to keep your lines nice and straight.
*If you are installing lights in/around your pavers:
Make sure to pre-mark where your conduits are so they are easy to find/drill for later after everything has set.
- Once you’re ready to check your pavers, make sure to have your long level and a good dead blow hammer in hand. You want to use both to make sure everything is staying flat.


Pro Tip:
- Remember, when you’re working with small format pavers, you want your trass to be fairly dry.
The larger the format of the paver you’re working with, the sooner and faster you can get out on them. Plywood is not necessary; just be careful of where you are stepping. You want to keep your pavers as level as you can. - As a reminder, especially on hot days, give your trass bedding system light showers of water use to keep it where you want it to be.
Make sure to fill in and re-scree any spaces that have settled over time.
How To Install Larger 2 by 2 Pavers

To not make a mess of your tiles and workspaces.
Its helpful to be set up on a table.
- Tooling from the piece that you need over to the next piece is best practice.
This keeps the Elutriant consistency of your larger pavers effiecent and smooth.
When laying lager format tiles:
- And kind of vacuum equipment helps give you extra control in the carrying and placement of your tiles.
It also helps keep your fingers out of the mud.
We use the Grabo Pro-Lifter - Make sure to again coordinate and measure everything ahead of time before you start laying. Because once the system is set. Its designed to say that way.
Well Done! You’re Almost There! Lastly Is The Joint Compound Resin!
Your Project Is About Done!
Now it is time to install the jointing compound. A ceramic jointing compound, like GFTK VDW 815, ensures a robust and clean joint.
The best part about these Epoxy jointing compounds is that you can install them when it is sunny or raining!
Tools Needed To Get The Job Done!
- Gloves are very helpful with the 2 part epoxy resins, but not necessary.
- VDW 815 or VDW 520
- A garden hose.
- A double paddle mixer (Colomix Duo55)
- Or an18 volt drill unit and auger
- A Squeegee for the first pass.
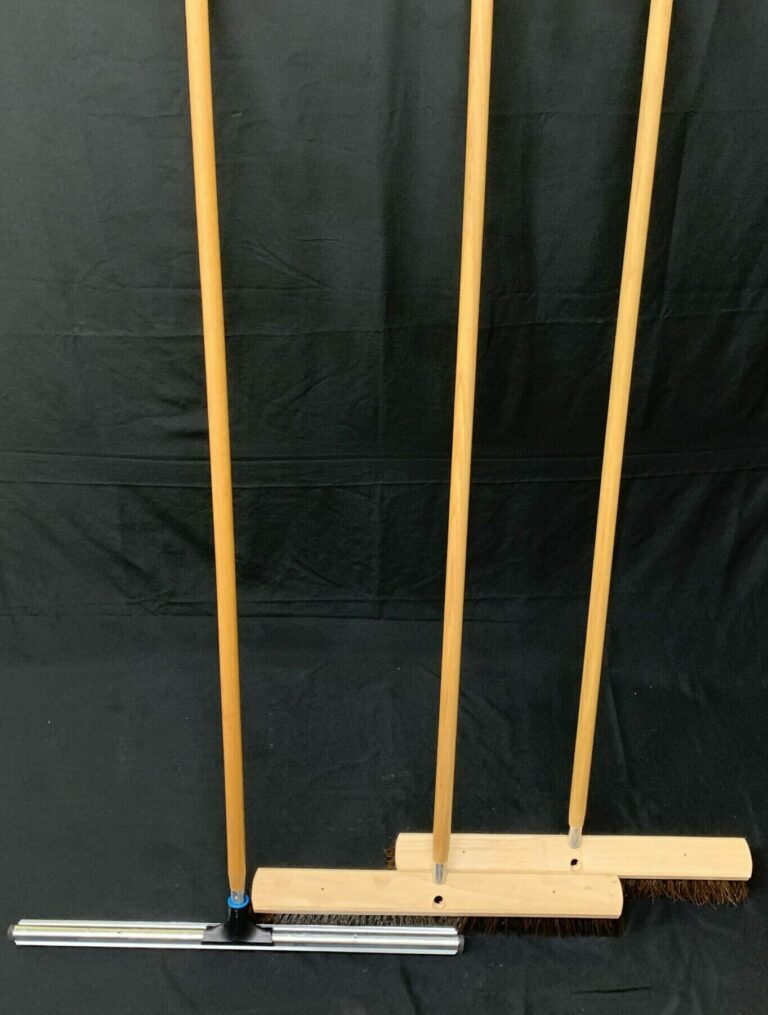
- A course broom for the first sweep
- And a softer broom to finish up/clean up.
Pro Tip:
In some situations, it’s good to have a horse hair broom available for your final sweeps, especially on smooth surfaces.
This step is not necessary for pavers with a slate finish
Check Out This Elutriant Installation Video Guide!

Step 10: Prep the Surface
Always use clean water. Clean the surface thoroughly of dirt, cement residue, or other contaminants.
Thoroughly pre-wet the surface and mask any adjacent surfaces not to be jointed. We also recommend using a Hydrobroom to speed up the process
Pro Tip:
Make sure your boots are clean too!
If you walk of the surface make sure to clean your boots again before stepping back on the pavers.
Step 11: Mix the Jointing Compound For Smaller Pavers
The VDW 815 Plus is a two part packaged set.
- With one part coming already pre mixed in the bucket. With the second part being is the activator which comes in a bottle.
- Once mixed together it will create a slurry that will go right into the joints.
- Its designed for 1/8th inch joint or bigger. But still works great if you have joinst measuring a 1/16th of an inch.


Before adding your activator its always best to mix up your Part A mix for 15 to 30 seconds.
- Once the activator or Part B has been added.
- Go ahead and mix it for approximialty two minutes.
Your looking for a nice and creamy consistency with some white foam
Step 12: Apply the Jointing Compound
- Apply the mixed compound directly to the pre-wetted surface of the porcelain pavers.
- Keep adding water during installation as you want to 2 part components to be flowable.
- Use your squeegee to move/flow the resin into the joints.
- Keep adding small amounts of water as needed as you work in different sections or spaces.
After about 10 minutes the jointing will start setting up and will no longer be pliable.
- Once done with the squeegee.
Use your course broom to work the material into joints and border joints. - Unlike pavers with a chamfered edege. Smooth pavers can have these joints filled full. and you can always come back later by hand to fill in areas previously missed.


After about 10->20 minutes after your first sweep (depending on the weather).
You can start cleaning off your workspace with your second and softer broom.
The hotter and sunnier the weather, the faster you’ll have to clean everything.
A broom works most times. But again, spaying a little water will help.
With smaller pavers, using a horsehair brush afterward really helps to polish off an area by removing those small grains left over.
However, normal soft poly-broom can still be used. It just may not work as easily.
See Below For Large Format Jointing Installation Instructions!
For larger pavers, we use the VDW 520 resin binder (called the split binder).
Combined with .¼ inch to ⅜ inch cleanly washed and dry gravel
Together, they create a bonded system that is extremely permeable.
You can use it to joint trendy paver designs or even use it for an entire driveway. Just make sure you have the proper basing, and thickness of product depending on what kind of weight you’d be putting on it.
For this project pictured, we only need an 1 & ½ since its a pedestrian area


Important Note:
When installing sensitive stones, it is important to tape off any edges to prevent any staining.
it is also recommended to pre-treat any sensitive stone with the Xtreme 3 in 1 Stone Protect – VDW 950.
- When Installing the two-component epoxy resin. Each unit can complete 4 batches.
And one unit equals about 48 pounds of stone. - For smaller jobs, mixing in a 6-gallon bucket works well.
For a job like a driveway, a larger mixer is recommended. - Mix using your auger again.
- Then, spread the stones into the larger joints using your squeegee.
- Using a larger flat finish trowel along with water can help move and pack down the stones between the joints.
- It’s always good to tamp everything to help keep it level. While also pushing any sharp corners down. Which keeps everything nice and smooth.

Here are a few things to avoid during the application process:
- Don’t mix partial units of the joint compound. The liquid hardener is explicitly measured for the bucket you purchased.
- Mixing the correct ratio will be easier if you mix partial units. You can always keep some in its bucket with additional water for later.
- Lastly, don’t walk on the surface with dirty shoes. Clean your shoes and tools regularly with water to avoid contaminants.
Step 13: Cleaning the Surface
Now that the jointing compound is installed. It’s Time To Clean Up!

- Remove any excess epoxy compounds within five minutes by spraying lightly with a hose.
- Be careful to clean the surface towards areas that need to be jointed or towards the lowest point. You don’t want to let water with the residue pool and dry out on the completed areas.
- Finally, remove any remaining residue with a damp coconut fiber brush.
- Clean the brush with water frequently.
- Don’t brush any dried material into unfilled joints, as it will compromise the joint.
- You may notice a white film washing away while installing the jointing compound. There is no need to worry about the white film, as it is normal.
Congratulations!
You have successfully installed porcelain pavers! All you need to do is sit back and let your project cure.
Remain off the paved surface for at least 24 hours after filling the joints. The area can be opened for vehicle traffic after 5 days.
We recommend performing a strength test before driving on the surface to ensure it is cured properly. Also, you may notice some areas with a thin film of jointing resin on rough surfaces or areas needing to be cleaned. The residue film will disappear after a period of traffic and weathering.
In conclusion, it is essential to install porcelain pavers properly to keep paver and joints from breaking!
Here is a recap of how to install porcelain pavers
- Plan And Mark Area
- Gather Necessary Tools
- Install Fabric
- Install Your Stone Base
- Prepare The Bedding System
- Install The Mortar Bedding system.
- Mix Bonding compound
- Apply bonding compound
- And Install the porcelain pavers.
- Prep The Surface
- Mix Jointing Compound For Smaller Pavers
- Applying the Jointing compound.
- Clean The Surface & Clean up!

We Hope You Found This Guide Helpful!
Our Website also has guides on how to install jointing compounds, perma edge, and other hardscaping guides!
If you have any questions, contact us or visit our sister company, Sauders Hardscape Supply, to order your hardscaping supplies. Enjoy!
If you liked this guide, check out this video showcasing the steps described in how to install porcelain pavers!